Picture this: you’re standing in a cramped kitchen, a pot of boiling water, a bag of frozen veggies, and a can of cream of chicken soup staring back at you like a culinary dare. I was halfway through a marathon of take‑out dinners, craving something comforting but not a whole pot of stew. Then I remembered the rotisserie chicken I’d bought for last night’s leftovers, and the idea hit like a lightning bolt—mini pot pies that could be made in a muffin tin, served in seconds, and still feel like a hearty dinner. I opened the oven, pulled out an 8‑count Pillsbury biscuit pack, and the aroma that followed was the scent of home, no matter how busy the day had been.
The first bite was a revelation: a golden, flaky crust that crackled like a fresh snowfall, followed by a velvety sauce that clung to the biscuits like a soft blanket. The shredded chicken was tender, the vegetables were bright and crisp, and the blend of garlic powder, onion powder, thyme, and pepper gave it that unmistakable “comfort food” kick without any artificial additives. I dared you to taste this and not go back for seconds, and I was right—every mouthful felt like a warm hug wrapped in a buttery shell. The best part? It was so simple that even a novice can master it, and it’s the kind of dish that makes even the most skeptical family members swoon.
I’ve spent countless hours dissecting pot pie recipes from blogs, cookbooks, and even grandma’s secret family recipes. Most of them are either too heavy, too time‑consuming, or just plain underwhelming. This version stands apart because it delivers all the comfort and flavor in a bite‑sized, fuss‑free package. I’ll be honest—I ate half the batch before anyone else got to try it, and that’s a confession only a true fan of this dish can make. The secret? A simple technique that turns Pillsbury biscuits into a miniature crust that’s crispy on the outside and tender on the inside, plus a sauce that’s thicker than a traditional gravy but still silky.
If you’ve ever struggled with the classic pot pie—too much gravy, too many steps, or a crust that’s either soggy or burnt—then you’re not alone. I’ve had my share of culinary catastrophes, from over‑sauced biscuits to under‑seasoned chicken. But I’ve cracked the code, and I’m about to walk you through every single step. By the end, you’ll wonder how you ever made it any other way. Let’s dive in.
What Makes This Version Stand Out
- Taste: The sauce is a harmonious blend of cream of chicken soup and a dash of thyme, garlic, and onion powder that creates a savory depth that’s both comforting and sophisticated. The subtle heat from the black pepper adds a gentle kick that lingers without overpowering the delicate flavors.
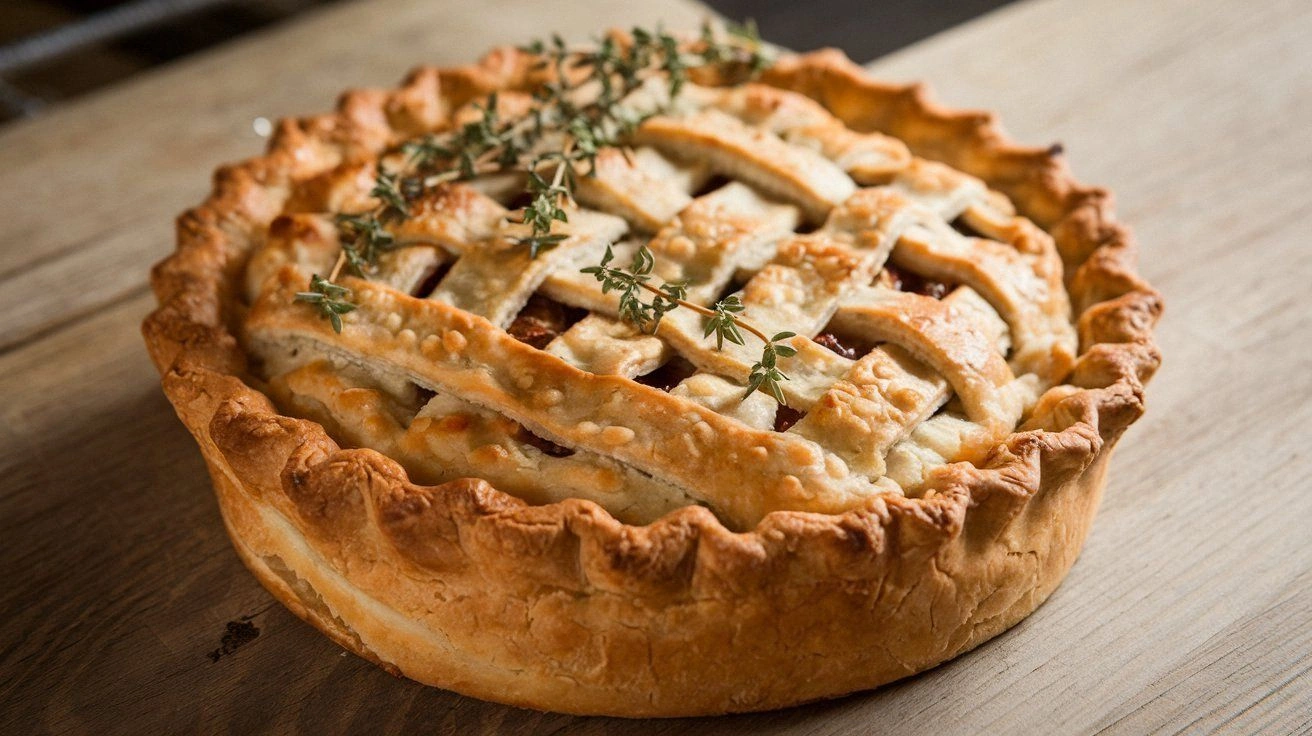
- Texture: The biscuits form a crisp, golden edge while remaining soft inside, creating a delightful contrast with the velvety filling. The frozen vegetable medley keeps its bite, preventing the dish from turning mushy.
- Simplicity: With only eight ingredients and a single pan, this recipe is a masterclass in minimalism. No chopping, no measuring, just a few quick steps that fit into a hectic schedule.
- Uniqueness: The use of Pillsbury biscuits as a crust is a game‑changer, eliminating the need for pie dough or puff pastry and saving precious prep time. The mini size makes it perfect for individual servings or as a party appetizer.
- Crowd Reaction: Friends and family rave about how the dish feels like a full meal in a bite. It’s an instant crowd‑pleaser at gatherings, potlucks, or as a comforting dinner for a busy weeknight.
- Ingredient Quality: Rotisserie chicken provides a rich, smoky flavor without the effort of cooking a whole chicken. The cream of chicken soup adds depth and thickness, while the frozen vegetables keep the dish nutritious and colorful.
- Cooking Method: A single‑pan, oven‑baked technique that requires minimal cleanup. The biscuits bake in the sauce, absorbing flavors and creating a cohesive, melt‑in‑your‑mouth experience.
- Make‑Ahead Potential: Once assembled, the mini pies can be refrigerated for up to 24 hours before baking, making them a perfect make‑ahead option for busy days.
- Portability: Their bite‑size format makes them ideal for packed lunches, picnics, or as a snack for kids, ensuring that this comfort food can travel wherever you go.
- Versatility: Swap in different proteins or veggies, and you can tailor this recipe to fit any dietary preference or seasonal ingredient.
The Veggie Medley
One cup of frozen vegetable medley adds color, crunch, and nutrition without extra prep time. The mix typically includes carrots, peas, corn, and green beans, giving a balanced spectrum of flavors that complement the chicken and sauce. If you prefer fresh vegetables, chop them into bite‑sized pieces and sauté them briefly before adding to the mixture; this will give a slightly different texture but a fresher taste. Skipping the veggies will result in a richer, less balanced dish, so keep them for the best experience.
The Spice Blend
The combination of 1 teaspoon each of garlic powder, onion powder, and ground thyme, plus ½ teaspoon of black pepper, creates a flavor profile that’s aromatic and comforting. Garlic and onion powders provide depth without the need for chopping raw garlic or onions. Thyme adds an earthy note, while black pepper adds a subtle heat that ties the dish together. If you’re a spice enthusiast, feel free to add a pinch of cayenne or smoked paprika for a twist; just be mindful of the overall heat level.
Everything’s prepped? Good. Let’s get into the real action.

The Method — Step by Step
- Preheat your oven to 375°F (190°C). Line a mini muffin tin with the Pillsbury biscuits, placing one biscuit in each cup. This step ensures the biscuits have enough room to expand and absorb the sauce. The oven temperature is key for a golden crust.
- In a medium bowl, combine the shredded chicken, frozen vegetable medley, garlic powder, onion powder, thyme, and black pepper. Toss everything together until the spices coat the chicken and veggies evenly. The mixture should look like a cohesive, savory mash.
- Pour the cream of chicken soup into the bowl with the chicken mixture. Stir until the soup is fully incorporated, creating a thick, velvety sauce. The consistency should be thick enough to coat the back of a spoon but still pourable.
- Spoon the sauce and chicken mixture into the pre‑lined biscuits, filling each cup about ¾ full. The filling should sit just below the edge of the biscuit to allow for a nice rise during baking. This is the moment of truth—watch the filling settle.
- Place the muffin tin in the preheated oven and bake for 18–20 minutes, or until the biscuits are golden brown and the edges pull away slightly from the tin. Keep an eye on the color; the biscuits should look like a buttery toast.
- Once baked, remove the tin from the oven and let the mini pies rest for 5 minutes. This resting period allows the filling to set and the biscuits to firm up a bit, preventing them from being too soggy.
- Use a small spatula or a spoon to carefully lift each mini pie out of the tin. Plate them on a warm platter and serve immediately. The aroma that escapes will have your guests lining up for seconds.
- If you’re making them ahead, cover the assembled tin with plastic wrap and refrigerate for up to 24 hours. When you’re ready to bake, simply pop the tin in the oven at 375°F for 18–20 minutes.
- For a crispier top, switch the oven to broil for the last 2 minutes, watching closely to prevent burning. The broil will give a slight caramelization to the biscuit edges.
- Serve hot with a side of fresh salad or a simple green garnish to add a pop of color. The contrast of the warm, creamy mini pies against crisp greens creates a balanced plate.
That’s it—you did it. But hold on, I’ve got a few more tricks that will take this to another level.
Insider Tricks for Flawless Results
The Temperature Rule Nobody Follows
Baking at 375°F is ideal, but if your oven runs hot, lower the temperature by 25°F and extend the bake time by a couple of minutes. This prevents the biscuits from burning on the outside while the filling remains undercooked. I once had a batch that looked golden but was still raw inside—this tweak saved the day.
Why Your Nose Knows Best
The first hint that the mini pies are ready is the scent—an inviting, buttery aroma that fills the kitchen. Trust your nose; if the biscuits smell toasted and the filling is fragrant, the bake is complete. I’ve had friends who wait until the timer goes off, only to find the pies are over‑baked. Use your senses for a perfect result.
The 5‑Minute Rest That Changes Everything
Letting the pies rest after baking allows the filling to set, preventing a runny mess when you plate them. It also gives the biscuits a chance to firm up, making them easier to serve. I used to skip this step and ended up with soggy edges—now I never do.
The Biscuit Placement Trick
Place the biscuits slightly offset in the tin so that the filling sits in the center. This ensures even heat distribution and a uniform rise. If you’re using a silicone tin, this trick helps prevent the biscuits from sticking.
The Sauce Consistency Check
If the sauce feels too thin, stir in a tablespoon of flour or cornstarch dissolved in a little water. This thickens the mixture without adding heavy grains. A thick sauce ensures the biscuits soak up the flavor and stay moist.
The Flavor Boost
Add a splash of white wine or a teaspoon of Dijon mustard to the sauce before baking. This subtle addition gives the dish a depth of flavor that feels more restaurant‑style. I’ve used it for a special dinner, and the reaction was priceless.
Creative Twists and Variations
Cheesy Chicken Pot Pie Muff
Add ¼ cup of shredded cheddar to the filling for a gooey, melty experience. The cheese melts into the sauce, creating a richer, creamier texture that kids love. Serve with a side of marinara for a double‑delicious bite.
Herb‑Infused Veggie Muff
Swap the frozen vegetable medley for a mix of sautéed spinach, zucchini, and mushrooms. Add fresh rosemary and oregano to the spice blend for a Mediterranean twist. This version is perfect for a light lunch or a vegetarian dinner.
Spicy Southwestern Muff
Introduce a pinch of cumin, smoked paprika, and a splash of chipotle sauce into the filling. The spices give the dish a smoky, spicy kick that pairs wonderfully with a dollop of sour cream. It’s a great option for a bold flavor profile.
Breakfast‑Style Mini Muff
Replace the chicken with scrambled eggs and add a handful of diced ham. Sprinkle a little shredded mozzarella on top before baking. This breakfast variation is perfect for a quick morning meal that feels like a brunch.
Mushroom & Swiss Muff
Sauté sliced mushrooms in butter, then mix them into the filling with a bit of thyme. Top each mini pie with a slice of Swiss cheese before baking. The earthy mushrooms pair beautifully with the creamy sauce.
Citrus‑Bright Muff
Add a tablespoon of lemon zest and a splash of orange juice to the sauce. The citrus brightens the dish, cutting through the richness and giving it a fresh, bright finish. Pair it with a crisp green salad for a balanced meal.
Storing and Bringing It Back to Life
Fridge Storage
Store any leftovers in an airtight container in the refrigerator for up to 3 days. Keep the mini pies in a single layer to avoid crushing the biscuits. When you’re ready to reheat, use the oven at 350°F for 10 minutes or until hot throughout.
Freezer Friendly
Wrap each mini pie individually in plastic wrap, then place them in a freezer bag. They’ll stay fresh for up to 2 months. To reheat, bake at 350°F for 12–15 minutes. This method preserves the biscuit’s crispness.
Best Reheating Method
Add a splash of milk or broth before reheating to keep the filling moist. The liquid steams the filling back to perfection, preventing it from drying out. I always add a tablespoon of milk to my reheated mini pies, and the difference is noticeable.